The Molding Experts
Our molding team can run virtually any engineered resin with a focus on consistent and measureable results. While on time delivery is core to our planning process, it’s just as important to deliver uniform parts with every production run.

Welcome to
Ayanna Plastics & Engineering
Welcome to Ayanna Plastics & Engineering - Your Plastic Injection Molding Partner. As a creative solutions-driven injection molding company, we offer a turnkey manufacturing platform. Whether it’s the start of an idea or a fully developed project, we can help guide customers from design through finished products.
We provide unparalleled, expert and technically advanced results for customers in the evolving and demanding world of plastic injection molding. Using emerging technologies, industry leading equipment and diverse raw material suppliers, our highly skilled team can accept the challenge of even the most complicated products.
21+
Years In Business
280
Happy Clients
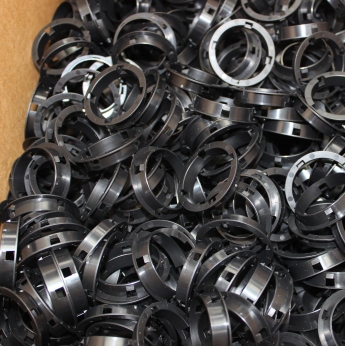
10 Million
Parts Molded Yearly
8 Years
Average Employee Tenure
Our Services
Engineered For Success

Scientific Molding
Ayanna Plastics & Engineering is committed to the discipline known as scientific molding. Scientific molding helps to ensure complete control over the injection-molding process by focusing ....
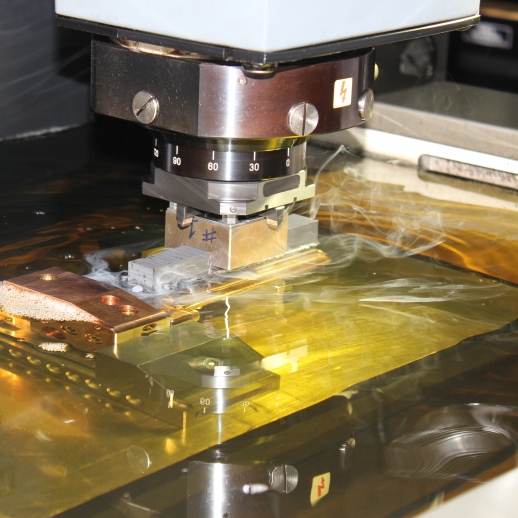
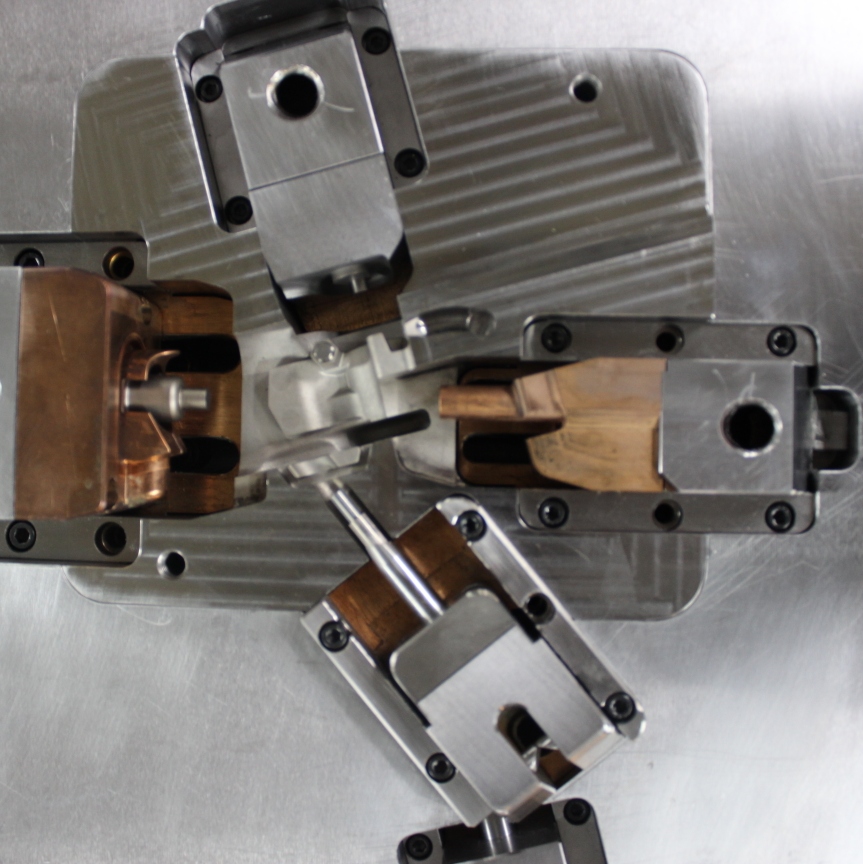
Mold Design Engineering
Mold designs are complicated and getting it right is critical to the success of a project. We use a combination of experience and technology to plan the design and test the concept using CAD software.
Project Management
Manufacturing custom injection molds requires great attention and planning. Building an injection mold can take from 4 to 12 weeks, depending on the complexity of the build. During that time...
What We Do…
Our goal is to be your partner in manufacturing plastic injection molds and plastic injection molded parts. Our progressive and innovative team provides added value that inspires, educates and problem-solves. Our success is defined by loyal clients who reach out to us first for expertise in plastic injection molding project after project.
Why Choose Us
Six Reasons For People Choosing Us
Certifications & Awards
Ayanna Plastics & Engineering, Inc. is an ISO 9001 and ISO 13485 certified and UL registered plastic injection molding company.
Worlds Greatest Molder
Ayanna Plastics & Engineering, Inc was honored to be selected by “World’s Greatest” as the world’s greatest plastic injection molding company.
Expert Engineers
Our engineers have vast experience in part design, mold design and building injection molds.
Best Places to Work
Ayanna Plastics & Engineering is pleased to announce that they have been named twice as Plastics News’ Best Places to Work
Commitment to Quality
We’ve based our quality management system on the International Organization for Standardization (ISO).
Industry Expertise
Our experience and expertise allow us to accept the challenge of even the most complicated projects.
Don't Know What To Start With?
Solutions For Injection Molding Projects
Office
Contact Us
4701 110th Avenue North
Clearwater, FL 33762
Phone: 727.561.4329
Email: info@ayannaplastics.com
Free Consultation
Would you mind telling us a little about the project so we know how to quote it?
Working With The Best
Certifications & Awards